 English
 Español
  Português
  русский
  Français
  日本語
日本語  Deutsch
  tiếng Việt
  Italiano
  Nederlands
  ภาษาไทย
  Polski
  한국어
한국어  Svenska
  magyar
  Malay
Malay  বাংলা ভাষার
  Dansk
Dansk  Suomi
Suomi  हिन्दी

Which Stripping Tools Deliver Clean, Fast, Damage-Free Wire Prep?
Abstract
Stripping insulation looks simple—until one nicked conductor causes a hot spot, one uneven strip length prevents a proper crimp, or one tiring shift turns “quick work” into sore hands and rework. This guide breaks down the most common customer pain points with stripping tools and shows how to choose the right tool type for your wire, insulation, and workflow. You’ll learn what causes conductor damage, how to match tools to AWG/mm² ranges and insulation materials, how to strip consistently at scale, and how to maintain tools so they stay accurate and safe. A comparison table and practical FAQs help you make confident decisions for daily use or procurement.
Table of Contents
- Outline
- The Real Problems People Face With Stripping Tools
- Stripping Tool Types and When to Use Each
- Comparison Table: Choose the Right Tool Faster
- How to Strip Wire Cleanly (Step-by-Step)
- How to Choose the Best Stripping Tools for Your Job
- Insulation Materials, Special Cables, and Tricky Cases
- Maintenance, Calibration, and Safety Habits
- Procurement Checklist for Teams and Factories
- FAQ
Outline
- Identify common stripping failures (nicks, inconsistent lengths, fatigue, slow throughput).
- Understand major stripping tool categories and their strengths.
- Use a comparison table to shortlist tools by wire type and volume.
- Follow a repeatable stripping method to reduce defects.
- Choose tools based on gauge range, insulation, ergonomics, and quality controls.
- Handle special cases (multi-core, soft silicone, PTFE, coax, jackets).
- Maintain accuracy through cleaning, blade care, and periodic checks.
The Real Problems People Face With Stripping Tools
Most complaints about stripping tools aren’t about “getting insulation off.” They’re about quality, speed, and repeatability—especially when you’re prepping dozens or thousands of wires. Here are the pain points that show up again and again:
- Nicked conductors: A tiny cut in copper or aluminum reduces cross-section, weakens the strand bundle, and can create failure points under vibration or heat.
- Inconsistent strip lengths: Too short and the crimp doesn’t bite properly; too long and exposed conductor risks shorts and fails workmanship checks.
- Wrong gauge settings: A tool that “sort of works” across multiple sizes often damages smaller conductors or leaves insulation on larger ones.
- Insulation tearing or stretching: Soft or elastic jackets (like silicone) can stretch instead of cutting cleanly, leaving messy ends that don’t terminate well.
- Hand fatigue and repetitive strain: High volume stripping with poor ergonomics leads to slowdowns, mistakes, and discomfort.
- Slow throughput: Manual trial-and-error (strip, check, redo) burns time. In production, seconds per wire becomes hours per week.
- Tool wear: Dull blades and misaligned jaws cause slipping, ragged cuts, and unpredictable results.
If you’ve ever thought “why is this so hard to do consistently,” you’re not alone. The good news: most issues disappear when the tool type truly matches the wire and the workflow.
Stripping Tool Types and When to Use Each
“Stripping tools” is a big category. Choosing the right style is the difference between clean strips all day and constant rework. Below are the most common types and where they shine:
- Manual gauge-notch wire strippers: Classic plier-style tools with sized holes (AWG/mm²). Great for controlled work, smaller batches, and technicians who strip multiple gauges carefully.
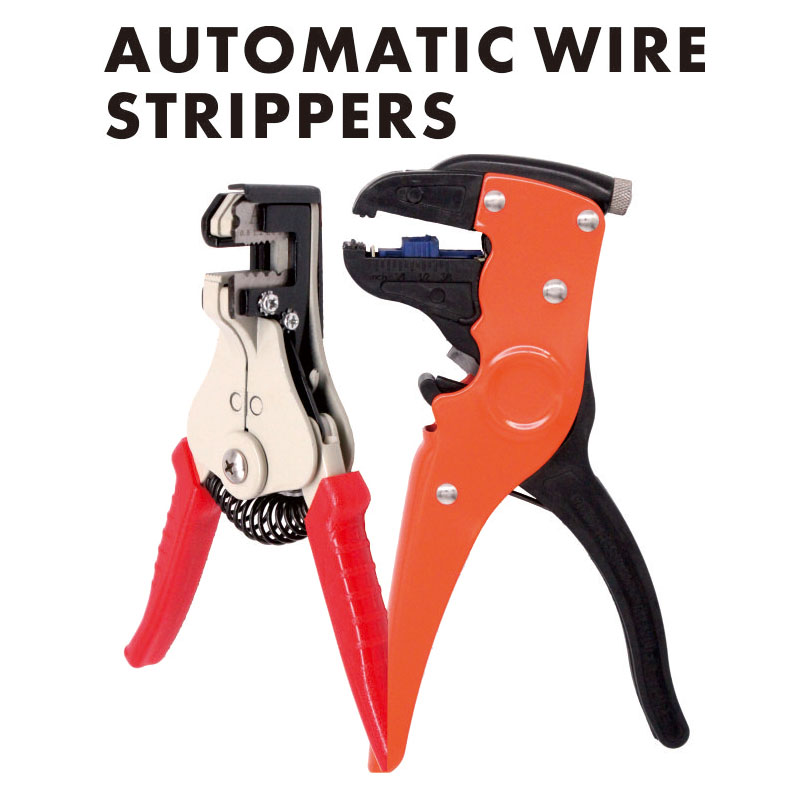
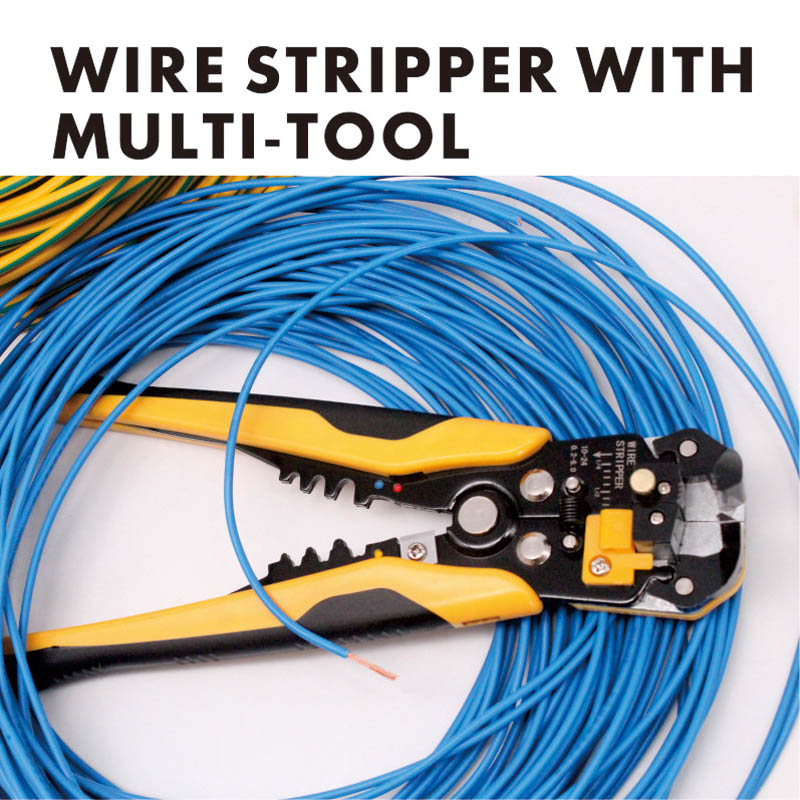
- Self-adjusting (automatic) wire strippers: Designed to grip insulation and pull it off in one motion with less manual gauge selection. Excellent for speed and reducing fatigue—especially for repeated sizes and medium-to-high volume.
- Precision micro-strippers: Built for thin conductors, electronics, and delicate multi-strand wires. Helpful when standard tools feel “too aggressive.”
- Jacket strippers: For removing outer sheaths on multi-core cable, round cable, or flat cable without damaging inner conductors.
- Coaxial cable strippers: Purpose-built for coax layers (jacket, braid, dielectric). Essential when connectors require exact step lengths.
- Rotary strippers: Wrap-and-cut style tools for round cable and jackets; often adjustable for diameter and cut depth.
- Thermal strippers: Use heat to soften insulation (commonly for PTFE/Teflon or high-temp materials). Best when mechanical cutting risks conductor damage.
The mistake many buyers make is expecting one tool to handle everything: flexible silicone wire, thin sensor cables, thick power cable jackets, and coax—all with equal quality. In reality, a small “tool set” often beats a single “do-it-all” tool.
Comparison Table: Choose the Right Tool Faster
| Tool Type | Best For | Strengths | Watch Outs |
|---|---|---|---|
| Manual Gauge-Notch Stripper | General wiring, mixed tasks, field work | Simple, durable, predictable when matched to gauge | Slower for high volume; wrong notch can nick strands |
| Self-Adjusting Stripper | Repeated stripping, production lines, installers | Fast, consistent, reduces hand fatigue | Needs correct adjustment for insulation thickness; may struggle with very hard/very soft materials without tuning |
| Precision Micro-Stripper | Electronics, small conductors, fine-strand wire | Low risk of conductor damage, clean ends | Not ideal for thick insulation or large gauges |
| Jacket / Rotary Cable Stripper | Outer sheath removal on multi-core cable | Protects inner conductors when depth is set right | Incorrect depth can score inner insulation; requires practice |
| Coaxial Stripper | Coax prep for connectors | Accurate step stripping, repeatable lengths | Must match cable diameter and connector spec |
| Thermal Stripper | PTFE/high-temp insulation, sensitive conductors | Reduces mechanical nicking risk | Needs temperature control and safe handling |
How to Strip Wire Cleanly (Step-by-Step)
Even the best tool can produce poor results if the process is inconsistent. Here’s a repeatable method that works across most wire types:
- Confirm the wire size and conductor type. Know the AWG/mm² and whether it’s solid, stranded, or fine-strand. Fine-strand needs gentler handling.
- Match the tool to the job. Use a correct notch or adjust the self-adjusting tool so it grips insulation—not copper.
- Set strip length. If your tool has a length stop, use it. If not, mark a reference (even a simple visual guide) to reduce variation.
- Position the wire straight. Angled insertion increases the chance of uneven cuts and strand damage.
- Use smooth pressure. Don’t “crush” the wire. You want a controlled cut through insulation only.
- Pull in line with the wire. Twisting or yanking sideways can tear insulation and disturb strand lay.
- Inspect quickly. Look for shiny nicks, missing strands, stretched insulation, or ragged edges. If defects appear, stop and adjust—don’t keep producing bad parts.
- For crimps: Ensure the stripped conductor fills the barrel properly with no stray strands and no exposed conductor beyond what the terminal requires.
If you’re stripping high volume, a small change—like adding a strip-length stop or standardizing wire insertion technique—can reduce rework dramatically.
How to Choose the Best Stripping Tools for Your Job
When customers say “I need a good stripping tool,” what they usually mean is: “I need less damage, more consistency, and faster work.” Use these criteria to choose confidently:
- Wire range: Verify the supported AWG/mm² range actually covers your most-used sizes (not just “sometimes works”).
- Conductor style compatibility: Solid and coarse stranded are forgiving; fine-strand (common in control cabinets and flexible leads) benefits from precision jaws and sharper alignment.
- Insulation type: PVC is common; XLPE, silicone, rubber, and PTFE behave differently. If you routinely work with specialty insulation, consider dedicated tools.
- Consistency features: Look for strip-length stops, stable adjustment mechanisms, and clear markings. Small features save big time in batch work.
- Ergonomics: Comfortable grips, spring return, and smooth action reduce fatigue—especially during repetitive tasks.
- Build quality and alignment: Well-aligned jaws and blades cut cleanly. Misalignment creates partial cuts, tearing, and conductor nicks.
- Serviceability: Replaceable blades and accessible cleaning points extend tool life and maintain accuracy.
For many teams, the best setup is not “one premium tool,” but a main stripper + a jacket stripper + a coax/precision option depending on what your wiring work looks like.
Insulation Materials, Special Cables, and Tricky Cases
Some wires behave badly no matter how skilled the operator is—unless the tool is right. Here’s how to handle common “problem children”:
- Soft silicone wire: Tends to stretch and tear. Use sharp, well-aligned blades; consider tools designed for soft insulation with controlled cutting pressure. Avoid over-squeezing.
- PTFE (Teflon) and high-temp insulation: Tough and slippery. Thermal stripping can reduce nicking risk, and precise tools help avoid conductor scoring.
- Fine-strand flexible cable: Nicks are harder to spot but more damaging. Choose precision micro-strippers or carefully tuned self-adjusting tools, and inspect strands regularly.
- Multi-core round cable jackets: Use a rotary/jacket stripper with adjustable cut depth. Set depth conservatively and test on scrap first to protect inner insulation.
- Coaxial cable: Connector requirements often specify exact step dimensions. Use coax strippers matched to cable diameter and verify with a simple go/no-go measurement routine.
- Aluminum conductors: Softer than copper, more sensitive to damage. Use the correct gauge and avoid aggressive cutting pressure.
If you’re frequently switching between materials (for example, PVC control wiring and silicone high-flex leads), consider assigning dedicated tools per material to keep adjustments stable and reduce operator error.
Maintenance, Calibration, and Safety Habits
Stripping tools are precision tools, even when they look rugged. Maintenance is what keeps “clean strips” consistent over months of real work.
- Clean regularly: Insulation debris and adhesive residue build up and reduce grip, causing slipping and tearing.
- Check blade condition: Dull blades crush and tear insulation. Sharp blades cut cleanly with less pressure.
- Verify alignment: If one side cuts deeper, conductor nicking increases. If your tool allows adjustment, keep it centered.
- Test on scrap: When changing wire batches or insulation type, do a quick test strip before starting production.
- Use basic safety: Cut away from your body, keep fingers clear of blades, and wear eye protection when working with springy strands.
- Follow workmanship rules: Many electrical builds require consistent strip lengths, no strand loss, and clean terminations. Build inspection into the process, not just the final QA.
A simple habit that pays off: keep a “known good” sample wire and termination on hand. When results start drifting, compare instantly and adjust before defects pile up.
Procurement Checklist for Teams and Factories
If you’re buying stripping tools for a team, focus on reducing variability between operators. This checklist helps:
- List top 5 wire sizes (AWG/mm²) used monthly and buy tools that cover them cleanly.
- Separate tools by application: one for general wire, one for jackets, one for coax/specialty.
- Standardize strip lengths for common terminals and use length stops where possible.
- Run a short trial with real wire batches (including worst-case insulation) before full rollout.
- Train on technique (straight insertion, smooth pressure, quick inspection) to cut rework.
- Plan spares and maintenance (replacement blades, cleaning supplies) to prevent “using dull tools because production can’t stop.”
When you match the tool to the wire and standardize the method, you get faster assembly, fewer rejects, and cleaner terminations that pass inspection with less drama.
FAQ
Q1: How do I know if my stripping tool is nicking conductors?
Look for shiny score marks, missing strands, or a “thinned” spot on solid wire. On stranded wire, gently twist the stripped end—if strands separate too easily or break, the tool may be cutting into copper.
Q2: Should I choose a self-adjusting stripper or a manual gauge-notch stripper?
If you’re doing repeated stripping and want speed with less fatigue, self-adjusting tools are often the better daily driver. If you work across many sizes in field conditions and prefer direct control, manual gauge-notch tools are dependable—provided you consistently match the correct notch.
Q3: Why does insulation tear instead of sliding off cleanly?
Common causes include dull blades, improper tool adjustment, pulling at an angle, or very elastic insulation (like silicone). Try a sharper tool, reduce squeeze pressure, and pull straight in line with the wire.
Q4: What strip length should I use for crimp terminals?
Use the terminal manufacturer’s guidance when available. As a practical check, the stripped conductor should fill the crimp barrel without leaving excessive exposed copper beyond the barrel edge. Consistency matters as much as the exact number.
Q5: Can one stripper handle PVC, silicone, and PTFE insulation well?
Sometimes, but it’s not guaranteed. PVC is forgiving; silicone and PTFE are more demanding. If you regularly work with specialty insulation, dedicated tools (or a thermal option for high-temp materials) often reduce damage and improve finish quality.
Q6: How often should I replace or service stripping tools?
It depends on usage volume and materials. If you notice increased force needed, ragged cuts, slipping insulation, or conductor damage, it’s time to clean, adjust, sharpen/replace blades, or rotate in a fresh tool.
If you want stripping tools that match your wire types, production volume, and quality expectations, Yueqing Woma Tools Co., Ltd. can help you choose the right configuration for your applications—contact us to discuss your wire range, insulation materials, and target throughput, and we’ll recommend a practical solution that keeps your terminations clean and consistent.
Send Inquiry


X
We use cookies to offer you a better browsing experience, analyze site traffic and personalize content. By using this site, you agree to our use of cookies.
Privacy Policy